Laravel Filament 3 provides unparalleled productivity with pretty good design for building admin panels and back-office applications. It’s a robust admin builder based on TALL stack. However, the default login page it shows is… not so interesting.
So, I’ve tried to customize the filament v3 login page by adding some styles and contents to the login page. After exploring some options, I’ve figured out the simplest way of to customizing the login page design with minimum effort.
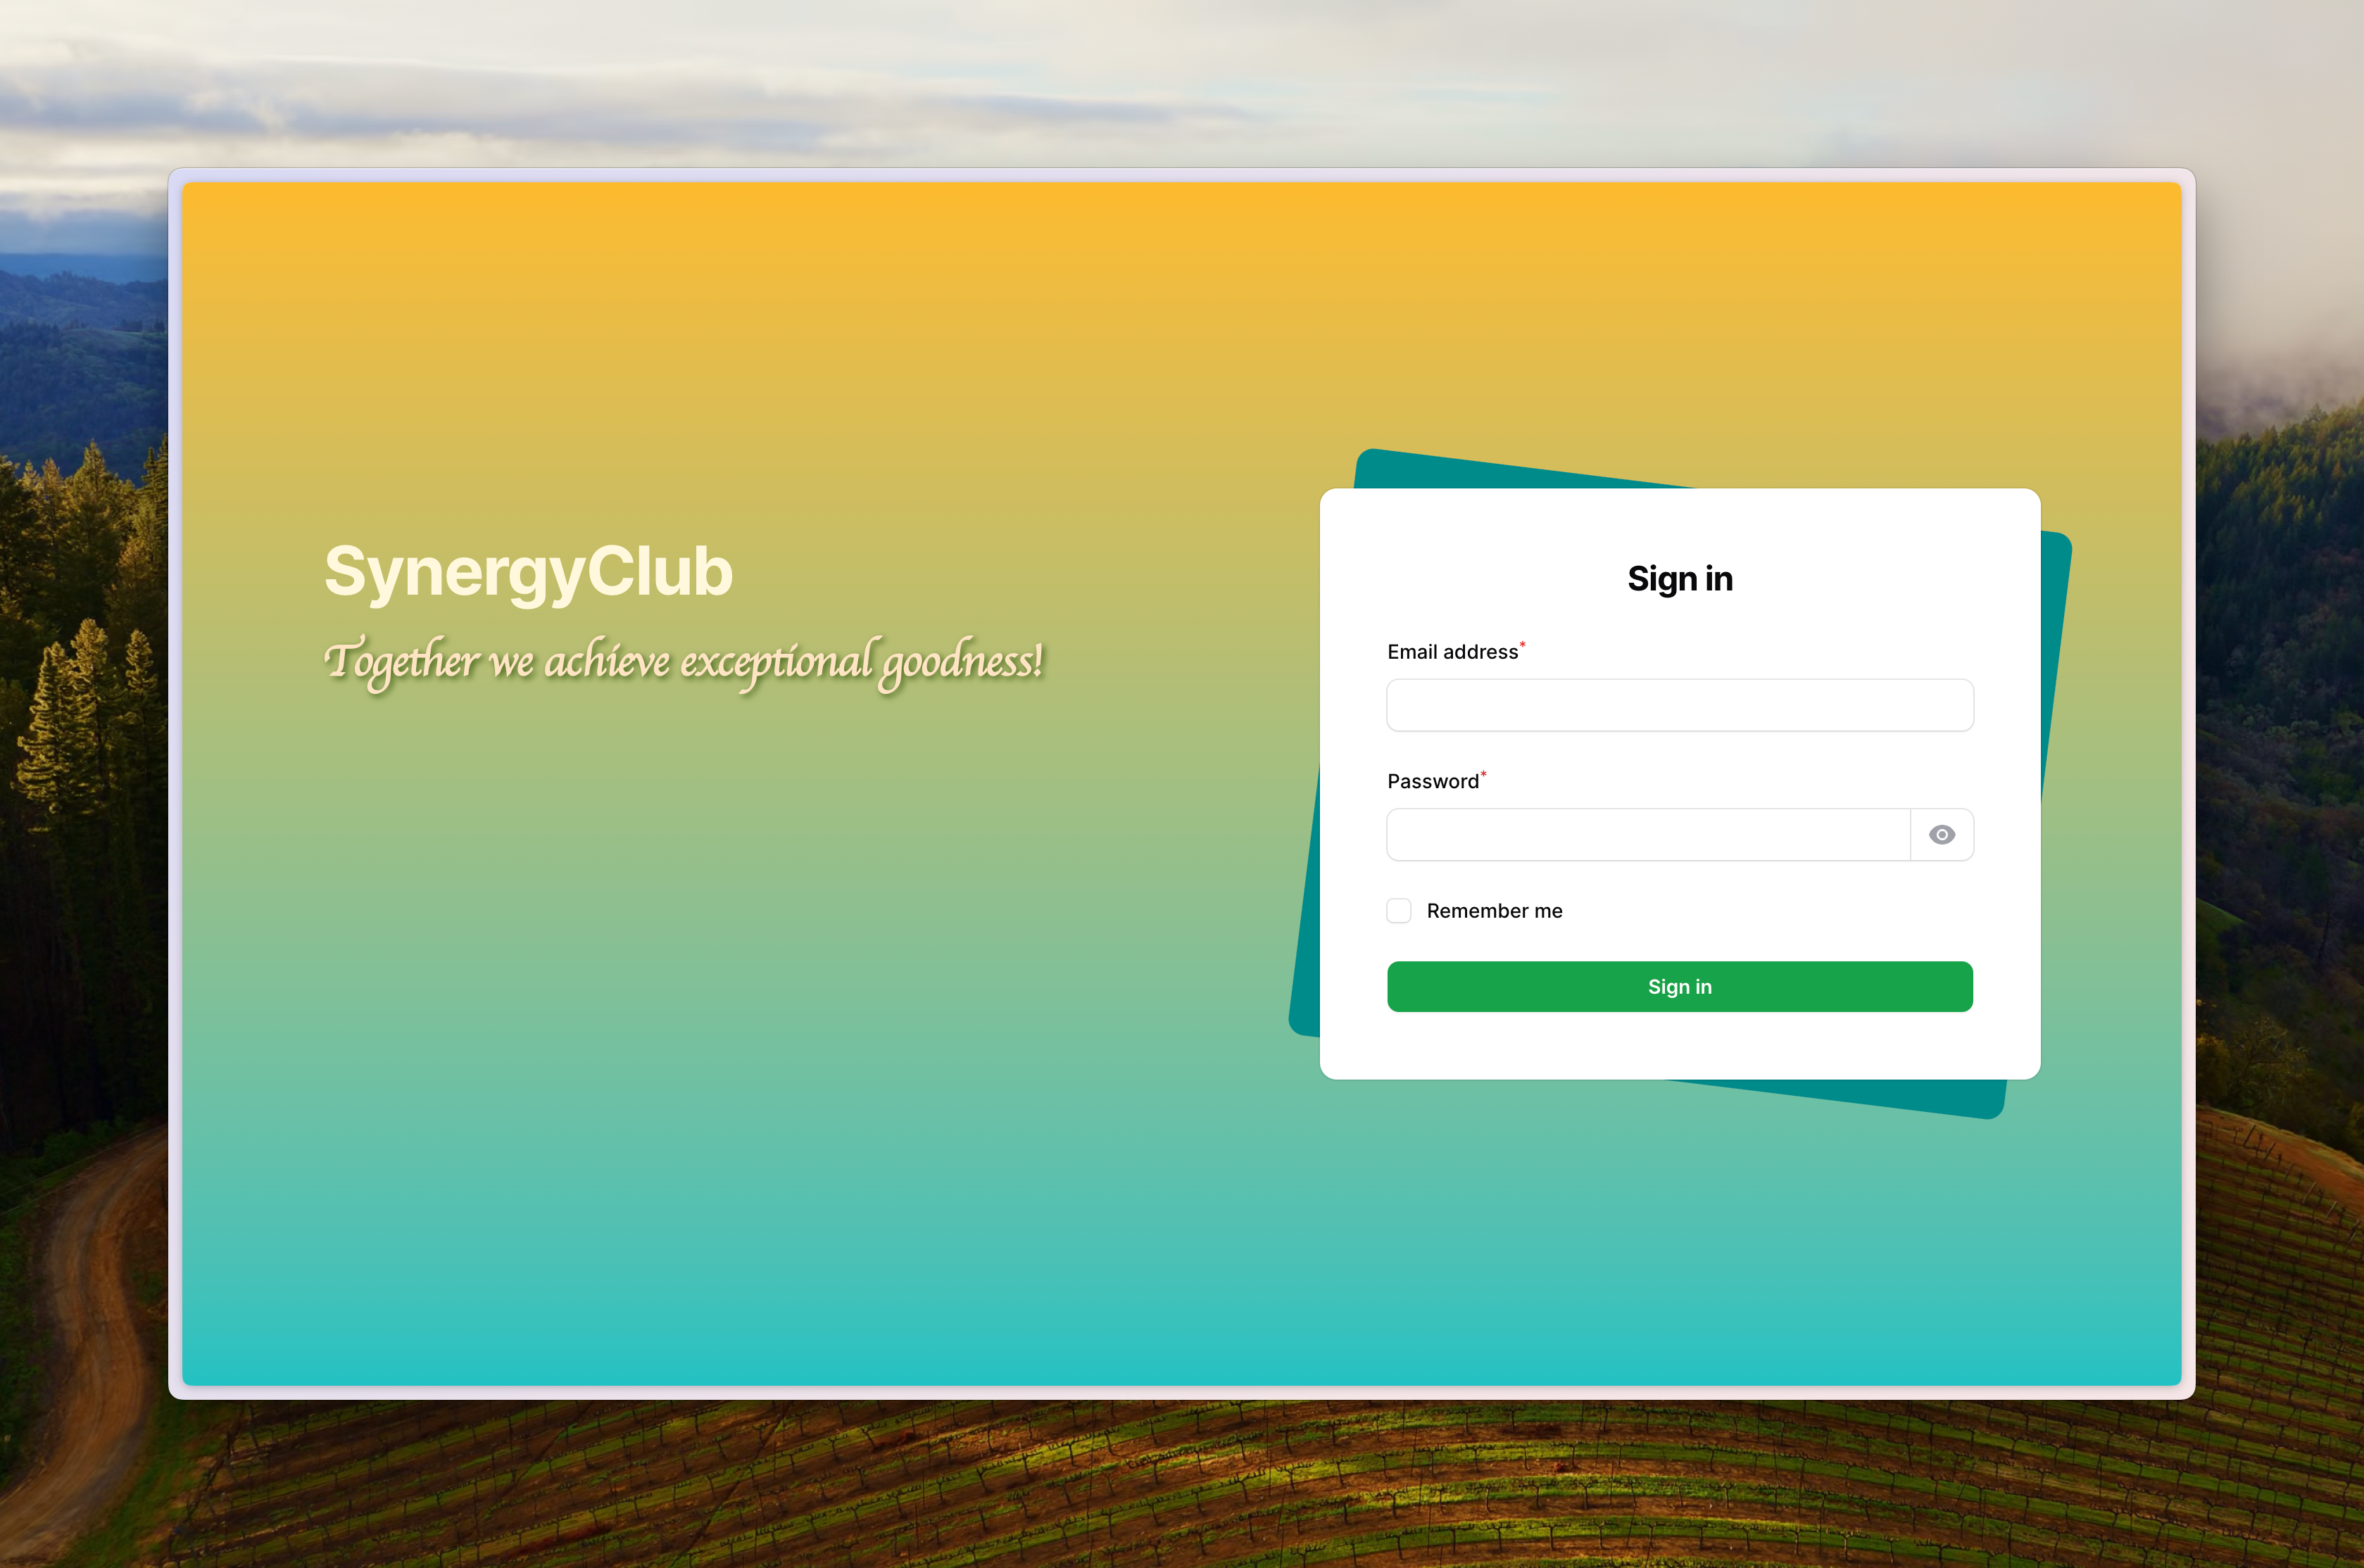
Let’s change the login page design like the above screenshot. Hang tight, it’s just in a few steps, will not take more then 5 minutes.
Before diving into the trick let’s set the Brand Name and theme color of the application. Open the app/Providers/Filament/AdminPanelProvider.php and set the following panel options:
return $panel
    // ... other config
    ->brandName('Your Brand Name')
    ->colors([
        'primary' => Color::Green, // Set your choice of colors
    ])
Step 1 – Prepare the style and extra content
First, let’s look into the current view page that is rendering the login page, vendor/filament/filament/resources/views/pages/auth/login.blade.php. There are two render hooks in this view, panels::auth.login.form.before (line 10) and panels::auth.login.form.after (line 21). These are the points where I can easily inject extra content. We will make a new view file and register it to be rendered at panels::auth.login.form.after.
Let’s make a view file at resources/views/filament/login_extra.blade.php and copy the following content into it.
<h3 id="slogan">Together we achieve exceptional goodness!</h3>

<style>
body {
    background: rgb(34,193,195) !important;
    background: linear-gradient(0deg, rgba(34,193,195,1) 0%, rgba(253,187,45,1) 100%)  !important;;
}

@media screen and (min-width: 1024px) {
    main {
        position: absolute; right: 100px;
    }

    main:before {
        content: "";
        position: absolute;
        top: 0;
        left: 0;
        right: 0;
        bottom: 0;
        background: darkcyan;
        border-radius: 12px;
        z-index: -9;

        /*box-shadow: -50px 80px 4px 10px #555;*/
        -webkit-transform: rotate(7deg);
        -moz-transform: rotate(7deg);
        -o-transform: rotate(7deg);
        -ms-transform: rotate(7deg);
        transform: rotate(7deg);
    }
    .fi-logo {
        position: fixed;
        left: 100px;
        font-size: 3em;
        color: cornsilk;
    }

    #slogan {
        position: fixed;
        left: 100px;
        margin-top: 50px;
        color: bisque;
        font-family: cursive;
        font-size: 2em;
        font-weight: bold;
        text-shadow: #3f6212 2px 2px 5px;
    }
}

</style>
Here, we are simply adding an H3 for slogan text. Also adding some CSS to to style the body, the Logo/Brand name and the newly added slogan element.
Step 2 – Hook this file into login page
We can register this file with a rendering hook from any ServiceProvider. Let’s open the app/Providers/AppServiceProvider.php and add the following lines in the boot() method:
FilamentView::registerRenderHook(
    'panels::auth.login.form.after',
    fn (): View => view('filament.login_extra')
);
Believe it or not… we’re Done! 😇
Now the login page should show up with a gradient color and right adjacent form.
It was just an example of adding content and CSS using rendering hook. Using this process, we can add any content and style to the filament v3 login page. Images can be added using background-image to the body. If you’ve some experience with CSS, you can definitely make it more beautiful and responsive.
Step 3 (optional): Moving CSS to separate file
At this point, we have all our custom CSS in the login_extra.blade.php – which don’t feel right. Let’s create a file resources/css/login.css. Then move all the CSS from the <style> tag of login_extra and put them into this css file. And replace the style tag with the following line
@vite('resources/css/login.css')To include this new css file in the build process, add 'resources/css/login.css' to the input list of vite.config.js.
Now the plugins configuration of vite.config.js should look like this:
    plugins: [
        laravel({
            input: ['resources/css/app.css', 'resources/js/app.js', 'resources/css/login.css'],
            // ... other config
        }),
    ],
Go to the command-line, build the assets (e.g., npm run build) and the login page should work as expected.
No more steps. 😊
Filament v3 provides a is pretty extensible toolset! There are multiple ways of achieving the similar result. You may even change the entire login page by setting a new Page class in $panel->login() method of the AdminPanelProvider. So, you may explore the options and find the process that fits your need.
If you have overwritten your filament login page, please share us a screenshot. Also, please mention the process you’ve used to achieve the result.
Take care, Artisan! 👋
Thanks Anis for this tutorial! In my opion is better to register this render hook to panel function of Filament’s panel provider rather than AppServiceProvider. If I have multiple panels, in this way i can set custom style for each login page:
class AppPanelProvider extends PanelProvider
{
public function panel(Panel $panel): Panel
{
return $panel
->id(‘app’)
->path(‘app’)
->login()
->topNavigation()
……
->renderHook(
‘panels::auth.login.form.after’,
fn (): View => view(‘filament.login_extra’)
);
Thanks Luigi for the excellent suggestion!
You are right, registering in Panel Provider is definitely a better option. 🤗
Thanks for the article, really helpt me getting started!
I did adjust the code a little to fit my needs:
“`php
->renderHook(PanelsRenderHook::AUTH_LOGIN_FORM_AFTER, fn(): string => view(‘filament.login_app’))
->renderHook(PanelsRenderHook::AUTH_PASSWORD_RESET_REQUEST_FORM_AFTER, fn(): string => view(‘filament.login_app’))
->renderHook(PanelsRenderHook::AUTH_PASSWORD_RESET_RESET_FORM_AFTER, fn(): string => view(‘filament.login_app’))
“`
This way all the auth layouts look the same.
Thank you, useful informations.
Best ever !!!!